5 Common Makeup Mistakes That Age You (And How to Fix Them)
I was doing my makeup the same way for years. The same foundation routine. The same eye makeup. The same lip color.
Then I saw a photo from my friend’s wedding. I looked… older. Not just older – I looked tired and washed out. My makeup wasn’t helping me look my best. It was actually making me look worse.
That’s when I realized something important. The makeup tricks that worked in my twenties weren’t doing me any favors in my thirties and beyond. Some techniques that seemed harmless were actually adding years to my face.
If you feel like your makeup isn’t working as well as it used to, you’re not imagining things. Small changes in how you apply and choose makeup can take years off your appearance. Here are the most common mistakes I see – and the easy fixes that make a real difference.
Mistake #1: Using the Wrong Foundation Shade and Finish
This is the big one. Bad foundation can instantly age you by 10 years.
I used to think I needed heavy coverage to look “polished.” I’d pile on thick, matte foundation that was slightly too dark (because I thought it looked more “bronzed”). The result? My face looked like a mask sitting on top of my neck.
Why This Ages You
Wrong shade: Foundation that’s too dark makes you look muddy. Too light makes you look ghostly. Either way, it creates an unnatural contrast with your neck and hands.
Heavy, matte finish: As we age, our skin naturally gets drier. Matte foundation clings to dry patches and settles into fine lines. It makes texture more obvious, not less.
Oxidation issues: Some foundations change color throughout the day. That perfect morning match can turn orange by afternoon.
The Fix
Find your true match: Test foundation on your jawline, not your hand or wrist. The right shade disappears into your skin. Professional makeup artists recommend testing in natural light when possible.
Choose the right finish:
- Satin or dewy: Gives skin a healthy glow
- Light-to-medium coverage: Let your natural skin show through
- Skin-like texture: Should look like better skin, not like makeup
Application tips:
- Use a damp beauty sponge to blend
- Build coverage gradually where needed
- Set only the T-zone with powder, leave the rest dewy
Product Suggestions
- IT Cosmetics CC+ Cream (buildable, hydrating)
- Maybelline Fit Me Dewy + Smooth (drugstore option)
- NARS Radiant Longwear (medium coverage, natural finish)
Mistake #2: Harsh, Dark Eye Makeup
The smoky eye trend did us all dirty. Those heavy black shadows and thick liner that looked edgy in photos? They’re making your eyes look smaller and more hooded.
I used to rim my entire eye with black liner – top and bottom. I thought it made my eyes “pop.” Instead, it was closing them off and creating harsh lines on my face.
Why This Ages You
Heavy bottom liner: Makes eyes look smaller and pulls them downward All-over dark shadow: Creates a hooded effect, even if you don’t have hooded eyes Harsh lines: Sharp contrast draws attention to fine lines and wrinkles Wrong colors: Some shades make you look tired or washed out
The Fix
Lighten up the lower lash line:
- Skip harsh black liner on the bottom
- Use a soft brown or navy instead
- Try tightlining (liner between lashes) rather than on the rim
- Add a light, shimmery shade to the inner corners
Choose flattering eyeshadow colors:
- Warm browns and taupes work on most people
- Soft purples and berries complement brown eyes
- Champagne and bronze shades add warmth without being harsh
Focus on lifting, not closing:
- Blend shadow upward and outward
- Use highlighter on the brow bone
- Curl lashes and use brown mascara for a softer look
Easy Eye Look for Any Age
- Light, shimmery shade on the lid
- Medium brown in the crease, blended up
- Thin line of brown liner on upper lash line only
- Light shade or white liner on the waterline (bottom rim)
- Brown mascara on top and bottom lashes
Mistake #3: Over-Powdering Everything
Powder is supposed to set your makeup. But too much powder is like putting a dusty filter over your face. It settles into every line and makes your skin look flat and lifeless.
I used to powder my entire face with a fluffy brush. Then I’d add more powder throughout the day whenever I felt shiny. My skin looked chalky by noon, and fine lines looked deeper.
Why This Ages You
Settles in lines: Powder collects in wrinkles and makes them more obvious Creates dryness: Too much powder sucks moisture from your skin Flat appearance: Removes all natural glow and dimension Cakey buildup: Layers of powder throughout the day create texture
The Fix
Powder strategically:
- Only set areas that get oily (usually T-zone)
- Use a light hand with a fluffy brush
- Press powder in with a sponge rather than brushing it on
- Leave the rest of your face dewy
Choose the right powder:
- Translucent, finely-milled powder
- Avoid powders with too much coverage
- Consider setting spray instead of powder
Blotting instead of powdering:
- Use blotting papers to remove excess oil
- Press, don’t rub, to avoid disturbing makeup
- Carry a small compact for touch-ups only where needed
Better Setting Routine
- Apply foundation and concealer
- Light dusting of powder only on T-zone
- Blush and other color products
- Setting spray for the whole face
- Blot (don’t powder) for touch-ups
Mistake #4: Ignoring Your Eyebrows
Thin, over-plucked brows were trendy in the 90s and early 2000s. But sparse brows instantly age your face. They make your features look less defined and your eyes appear smaller.
I plucked my brows to death in college. For years, I just filled in the shape I had left. I didn’t realize how much fuller brows could lift and frame my face.
Why This Ages You
Lack of definition: Sparse brows don’t frame your face properly Downward shape: Over-plucked brows often slope down, dragging your face with them Wrong color: Brows that are too light disappear. Too dark looks harsh. Outdated shape: Thin, highly arched brows look dated
The Fix
Grow them out: Stop plucking for at least 6-8 weeks. Use a brow serum to help growth.
Find the right shape:
- Start of brow should align with inner corner of eye
- Arch should be above the outer edge of your iris
- End should align with outer corner of eye
- Shape should follow your natural brow bone
Fill them properly:
- Use hair-like strokes, not solid color
- Choose a shade slightly lighter than your hair color
- Focus on areas where hair is sparse
- Blend with a spoolie brush
Professional help: Consider having your brows professionally shaped once, then maintain at home.
Brow Product Recommendations
- Anastasia Beverly Hills Brow Wiz (precise pencil)
- Glossier Boy Brow (natural, easy tinted gel)
- NYX Professional Makeup Micro Brow Pencil (budget-friendly)
Mistake #5: Wrong Lip Colors and Techniques
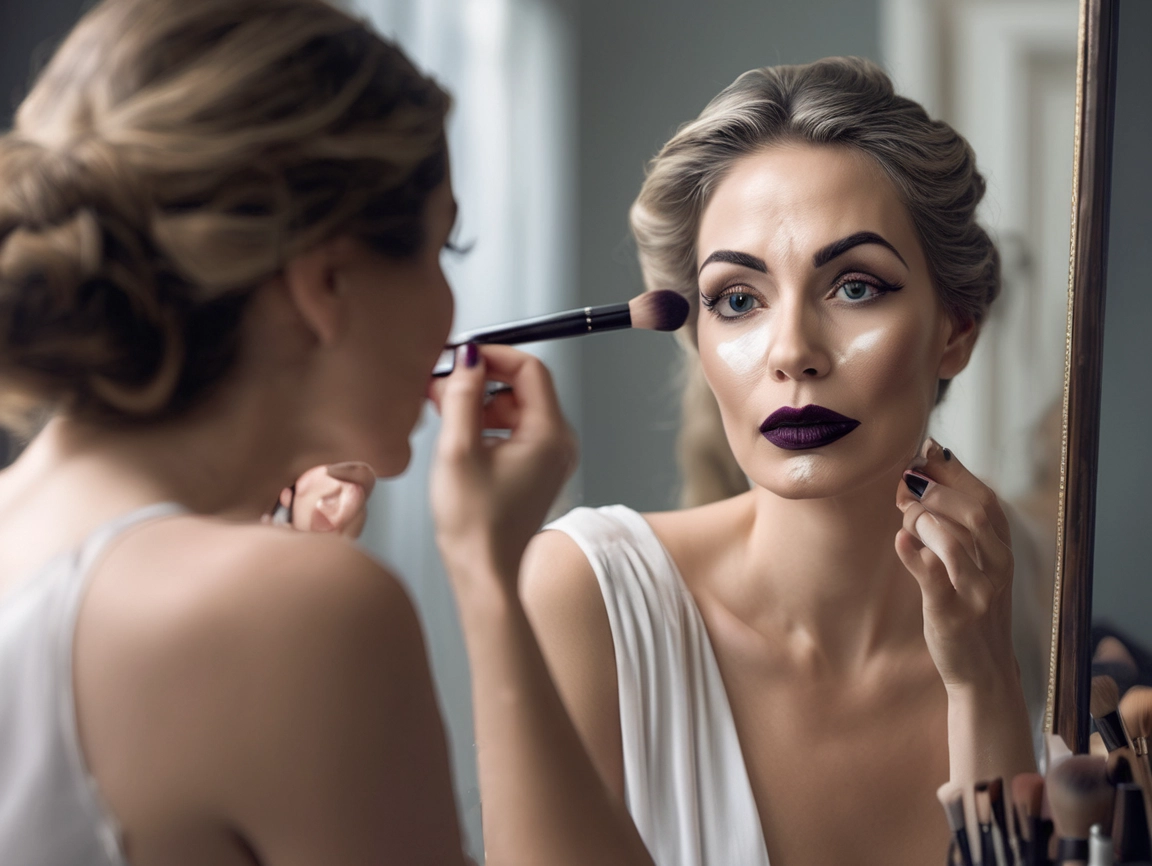
The wrong lip color can make your teeth look yellow, your skin look sallow, and add years to your face. Dark, matte lipsticks that looked edgy when you were younger might be working against you now.
I was stuck wearing the same berry lipstick for years. It was my “signature color.” But photos kept showing me with what looked like a dark, harsh line across my face.
Why This Ages You
Too dark or too matte: Makes lips look smaller and thinner Bleeding color: Lipstick that feathers into fine lines around the mouth Wrong undertones: Colors that clash with your skin make you look tired Harsh application: Sharp, unblended edges look unnatural Ignoring lip prep: Dry, flaky lips make any color look bad
The Fix
Choose flattering colors:
- Colors with the same undertone as your skin (warm or cool)
- Slightly brighter than your natural lip color for everyday
- Cream or satin finishes instead of matte
- Berry and rose tones tend to be universally flattering
Prep your lips:
- Exfoliate gently with a lip scrub once a week
- Use lip balm daily to keep them hydrated
- Prime lips before applying color for better wear
Application technique:
- Line lips with a pencil close to your natural color
- Apply lipstick with a brush for precision
- Blot and reapply for longer wear
- Add a tiny bit of gloss to the center for fullness
Make lips look fuller:
- Slightly overline (but not obviously)
- Use a lighter shade in the center
- Add a touch of highlighter to the cupid’s bow
Age-Appropriate Lip Colors
- Everyday: Rosy pinks, warm berries, nude-pinks
- Evening: Deeper roses, classic reds with blue undertones
- Avoid: Very dark colors, bright oranges (unless they suit your coloring), extremely matte finishes
Bonus Tips: Overall Application Techniques
Blend Everything
Harsh lines age you. Blend your foundation edges. Soften your eyeshadow transitions. Make sure blush fades naturally into your skin.
Add Warmth Back to Your Face
Use blush and bronzer to add dimension. Apply blush to the apples of your cheeks and blend upward. Use bronzer lightly where the sun naturally hits your face.
Don’t Forget Your Neck
Whatever you put on your face should blend down to your neck. This includes foundation, powder, and even a light dusting of blush.
Update Your Tools
Old brushes and sponges can make application patchy. Clean them regularly and replace when they start shedding or lose their shape.
The Most Important Rule: Less Can Be More
The biggest shift in age-appropriate makeup is knowing when to stop. You don’t need to use every product in your makeup bag every day.
For everyday:
- Light foundation or tinted moisturizer
- Concealer only where needed
- Soft eyeshadow and mascara
- Filled-in brows
- Cream blush
- Lip color that enhances your natural shade
For special occasions, you can add:
- More defined eye makeup
- Slightly more dramatic lip color
- Contouring (if you like it)
Making the Changes Gradually
Don’t overhaul your entire routine overnight. Pick one mistake from this list and work on fixing it first. Once that feels natural, move on to the next one.
Most importantly, makeup should make you feel confident and like the best version of yourself. These aren’t rules you have to follow – they’re guidelines to help your makeup work with your features instead of against them.
The goal isn’t to look 20 again. The goal is to look like yourself, but with a little extra polish and brightness. When you get your makeup right, people won’t notice what you’re wearing. They’ll just think you look great.


