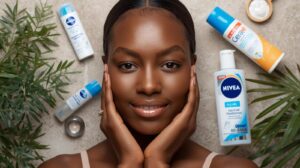
Skincare Purging vs Breakouts: How to Tell the Difference
I started using a new retinol serum. Within a week, my face looked like a pizza.
I panicked. Was this normal? Should I stop using the product? Was my skin getting worse or better?
I almost threw the serum in the trash. Good thing I didn’t. What I thought was a bad reaction was actually purging. My skin was getting rid of old buildup. Three weeks later, my complexion looked better than it had in months.
But here’s the tricky part – sometimes new products do cause real breakouts. Learning to tell the difference between purging and breaking out can save you from quitting products that actually work. Or keep using products that are hurting your skin.
If your skin is freaking out after starting something new, this guide will help you figure out what’s really happening.
What Is Skincare Purging?
Purging sounds scary, but it’s actually a good thing. It happens when active ingredients speed up your skin’s natural process.
Your skin normally takes about 28 days to renew itself. Old skin cells die and new ones replace them. But sometimes this process gets clogged up. Dead cells, oil, and dirt get stuck under your skin.
When you use certain active ingredients, they push this process faster. Everything that was stuck under your skin comes up to the surface all at once. That’s purging.
Think of it like cleaning your room. Before you can organize everything, you have to pull everything out of the closet. Your room looks messier at first. But once you’re done sorting, it looks better than before.
Dermatologists explain that certain ingredients increase cell turnover. This temporarily brings existing problems to the surface faster than usual.
What Causes Purging?
Not every skincare product causes purging. Only ingredients that speed up cell turnover can cause it.
Products that can cause purging:
- Retinoids and retinol
- AHA acids (glycolic, lactic, mandelic)
- BHA acids (salicylic acid)
- Benzoyl peroxide
- Vitamin C (in some people)
Products that should NOT cause purging:
- Moisturizers
- Cleansers (unless they have active ingredients)
- Sunscreen
- Hyaluronic acid serums
- Niacinamide serums
If you’re breaking out from a basic moisturizer, that’s not purging. That’s a reaction or sensitivity.
Real Purging vs Real Breakouts: The Key Differences
This is where most people get confused. Here’s how to tell them apart:
Location, Location, Location
Purging happens where you already get breakouts. If you usually get pimples on your chin, that’s where purging will show up. If your forehead is your problem area, that’s where you’ll see purging pimples.
New breakouts happen in new places. If you never get pimples on your cheeks, but suddenly you have breakouts there after starting a new product, that’s probably not purging.
Timeline Differences
Purging timeline:
- Starts within 1-2 weeks of using a new active ingredient
- Gets worse for 2-6 weeks
- Then starts getting better
- Total time: 6-12 weeks depending on your skin cycle
Breakout timeline:
- Can start immediately or take several weeks
- Gets worse over time (doesn’t improve)
- Continues as long as you use the product
- Stops when you stop using the product
Type of Blemishes
Purging typically brings up:
- Blackheads and whiteheads
- Small pimples that come to a head quickly
- Blemishes that heal faster than usual
- Problems that look familiar (like your usual breakouts)
Bad reactions typically cause:
- Cystic acne (deep, painful bumps)
- Pimples that take forever to heal
- New types of breakouts you don’t usually get
- Redness, irritation, or burning
How Your Skin Feels
During purging:
- Skin might be slightly dry or flaky
- No burning or stinging
- Overall skin texture improves even with temporary breakouts
- Skin looks brighter between breakouts
During bad reactions:
- Skin feels irritated, hot, or itchy
- Burning or stinging when applying products
- Skin looks dull or inflamed
- New sensitivity to products you used to tolerate
The Purging Timeline: What to Expect Week by Week
Understanding the timeline helps you decide whether to stick with a product or quit.
Week 1-2: The Beginning
- You might see nothing at first
- Some people notice small bumps starting
- Skin might feel slightly different
- Don’t panic if breakouts start appearing
Week 3-4: The Peak
- This is usually the worst part
- Most purging happens during this time
- You might question whether to continue
- Your usual breakouts might seem more frequent
Week 5-8: The Improvement
- New breakouts slow down
- Existing blemishes heal faster
- You start seeing benefits from the active ingredient
- Skin texture begins improving
Week 9-12: The Results
- Purging should be completely done
- You see the real benefits of the product
- Skin looks clearer than when you started
- New breakouts are minimal
Important: If things are still getting worse after 8 weeks, it’s probably not purging.
How to Survive the Purging Phase
Purging is temporary, but it’s not fun. Here’s how to get through it:
Don’t Pick or Pop
This is the hardest rule to follow, but the most important. Picking at purging pimples can:
- Leave permanent scars
- Spread bacteria to other areas
- Make breakouts take longer to heal
- Turn small bumps into big, inflamed pimples
Be Extra Gentle
Your skin is working overtime during purging. Don’t make it work harder:
- Use gentle cleansers only
- Skip harsh scrubs or brushes
- Avoid other active ingredients
- Stick to basic, soothing products
Moisturize More Than Usual
Active ingredients can dry out your skin. Keep it hydrated:
- Use a gentle, fragrance-free moisturizer
- Apply to slightly damp skin
- Consider adding a hydrating serum
- Don’t skip moisturizer even if you’re oily
Spot Treatment Strategy
You can treat purging pimples, but be gentle:
- Use tea tree oil (diluted) for natural antibacterial treatment
- Try hydrocolloid patches on whiteheads
- Benzoyl peroxide spot treatment (very small amounts)
- Avoid harsh drying treatments
Keep Taking Photos
Document your skin’s progress:
- Take photos in the same lighting each week
- Focus on problem areas
- Compare week 8 to week 1, not day-to-day
- Photos help you see improvement you might miss in the mirror
When to Stop: Red Flags That It’s Not Purging
Sometimes you need to quit a product. Stop using it if you experience:
Severe Reactions
- Intense burning, stinging, or pain
- Rash or hives
- Swelling, especially around eyes or lips
- Skin that’s hot to the touch
New Types of Problems
- Cystic acne if you never get it normally
- Breakouts in completely new areas
- Skin that’s getting worse after 8+ weeks
- Sensitivity to products you used to tolerate fine
Your Gut Says Stop
- If something feels very wrong, listen to your instincts
- Purging shouldn’t make you miserable
- You should see some improvement by week 6-8
- It’s okay to try a lower concentration and work up
How to Introduce New Active Ingredients (And Avoid Bad Purging)
The way you start using active ingredients affects how bad purging gets.
Start Slow
- Begin with the lowest concentration available
- Use only 2-3 times per week at first
- Gradually increase frequency over weeks
- Your skin needs time to adjust
One Product at a Time
- Don’t start multiple active ingredients together
- Wait 4-6 weeks before adding something new
- If you have problems, you’ll know which product caused them
- Build your routine gradually
Buffer When Needed
If an active ingredient is too strong:
- Mix it with your moisturizer
- Apply moisturizer first, then the active ingredient
- Use it every other day instead of daily
- Take breaks if your skin gets too irritated
Listen to Your Skin
- Some people purge lightly, others purge heavily
- Your skin will tell you if you’re going too fast
- It’s better to go slow and succeed than rush and quit
Managing Purging Around Important Events
What if you start purging right before a big event?
If You Have Time (4+ Weeks Before Event)
- Continue with your routine
- Use gentle spot treatments
- Focus on not picking at your skin
- The results will be worth it
If the Event Is Soon (Less Than 2 Weeks)
- Consider pausing the active ingredient
- Focus on calming your current breakouts
- Use products you know work for you
- Resume the active ingredient after the event
Emergency Breakout Help
- Hydrocolloid patches for whiteheads
- Ice for reducing inflammation
- Gentle spot treatments with benzoyl peroxide
- Good concealer and primer for coverage
After Purging: Maintaining Your Results
Once purging is over, you want to keep your results:
Continue the Routine That Worked
- Don’t stop using the product that caused purging
- It’s doing what it’s supposed to do
- Your skin has adjusted to it
- Stopping might cause problems to return
Gradually Add Other Products
- Now you can consider adding other actives
- Always introduce new products slowly
- Your skin is in a good place, don’t mess it up
- Focus on maintaining rather than fixing
Prevent Future Breakouts
- Keep using your proven products consistently
- Don’t skip steps in your routine
- Pay attention to other factors (diet, hormones, stress)
- Take progress photos to track long-term results
The Products Most Likely to Cause Purging
Retinoids (Highest Purging Potential)
- Tretinoin (prescription)
- Retinol (over-the-counter)
- Start with 0.25% or 0.5% concentration
- Use 2-3 times per week initially
AHA Acids (Medium-High Purging Potential)
- Glycolic acid (strongest)
- Lactic acid (gentler)
- Mandelic acid (most gentle)
- Start with 5-10% concentration
BHA Acids (Medium Purging Potential)
- Salicylic acid
- Better for oily, acne-prone skin
- Start with 0.5-1% concentration
Benzoyl Peroxide (Low-Medium Purging Potential)
- Antibacterial treatment
- Can cause dryness and irritation
- Start with 2.5% concentration
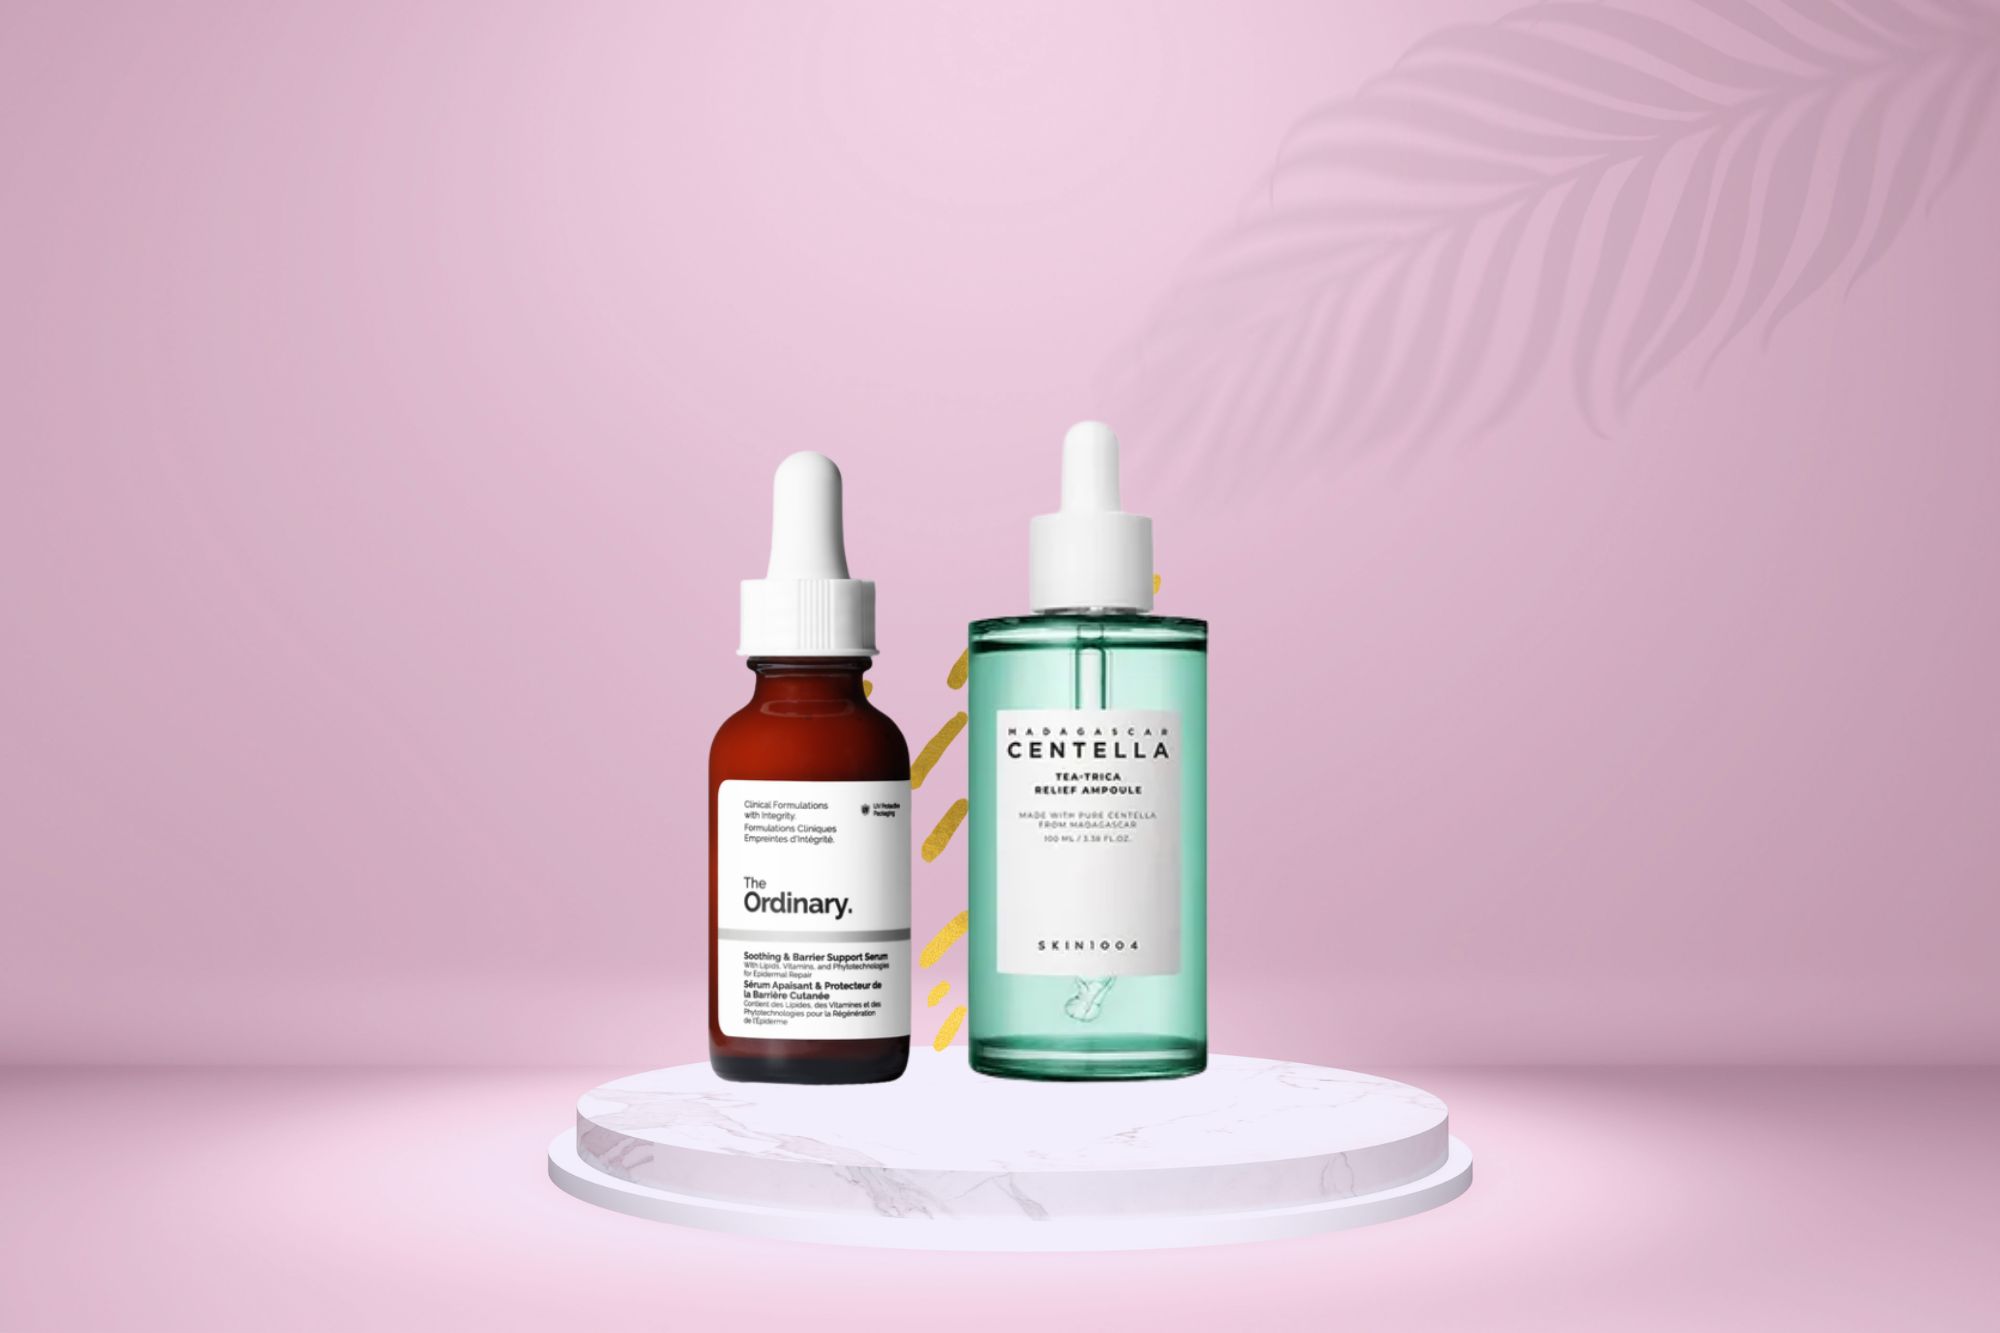
Product Recommendations for Gentle Introduction
Beginner-Friendly Retinoids:
- The Ordinary Granactive Retinoid 2% Emulsion
- CeraVe Resurfacing Retinol Serum
- Neutrogena Rapid Wrinkle Repair
Gentle AHA Options:
- The Ordinary Lactic Acid 5% + HA
- Paula’s Choice Calm 1% BHA Lotion
- Pixi Glow Tonic (5% Glycolic)
Mild BHA Products:
- Paula’s Choice 2% BHA Liquid Exfoliant
- The Ordinary Salicylic Acid 2% Masque
- CeraVe SA Smoothing Cleanser
Your Purging Action Plan
If you think you’re purging:
Week 1-4:
- Document with photos
- Be gentle with your skin
- Don’t add new products
- Resist the urge to pick
Week 5-8:
- Look for signs of improvement
- Compare to your starting photos
- Continue being patient
- Consider gentle spot treatments
After Week 8:
- If still getting worse, it might not be purging
- If improving, continue your routine
- Start thinking about next steps in your routine
Red flags to stop immediately:
- Severe pain or burning
- Rash or allergic reactions
- Cystic acne in new places
- Getting worse after 10+ weeks
The Bottom Line: Patience Pays Off
Purging is one of the hardest parts of building a good skincare routine. It tests your patience when you want quick results.
But remember – purging means the product is working. It’s bringing problems to the surface so your skin can get rid of them faster.
Most people who stick through purging end up with much clearer skin. Those who quit during the worst phase never get to see the results.
If you’re not sure whether you’re purging or breaking out, take photos and give it time. Your skin will tell you the answer in a few weeks.
The clearest skin of your life might be just on the other side of this temporary rough patch.